Whether you’re grouting new bathroom floor tiles, or refreshing the grout on your kitchen splashback, with the right know-how you can achieve a neat and professional finish.
Grouting may not sound like the most exciting of DIY tasks, but it is possible to completely makeover a tiled area simply by regrouting in a contrasting colour or replacing tired and grimy grout.
This guide will explain how to select the right grout, apply it for a professional finish, and maintain your freshly grouted tiles to keep them looking clean for longer.
What is grout?
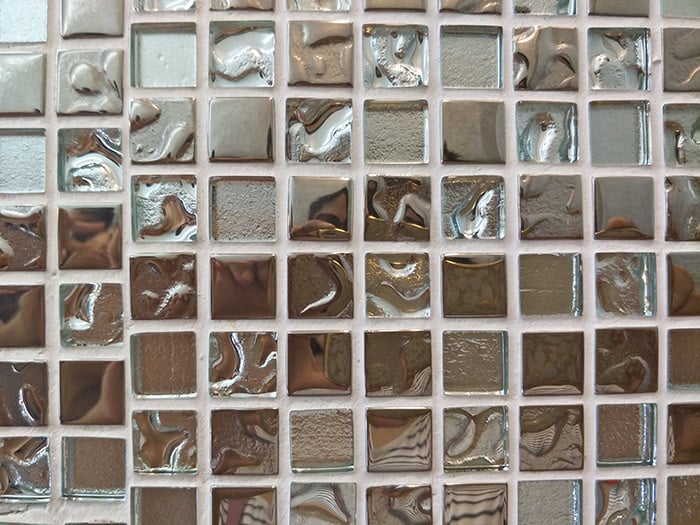 Grout is a material used to fill the gaps between tiles. Grout joins tiles together, protects them from moisture, and gives the tiled area an attractive finish.
Different types of grout
Selecting the right type of grout for the job will make application easier and improve the appearance and longevity of your tiled area.
The three main types of grout are:
Sanded – as the name suggests, sanded grout contains sand which helps to reduce shrinkage which can cause cracks to appear in grout. Sanded grout is most commonly used to grout floor tiles.
Unsanded – grout that does not contain sand is smoother and easier to push into very small gaps, making it ideal for grouting wall tiles.
Epoxy – whilst sanded and unsanded grout are both cement-based, epoxy grout doesn’t contain cement and is instead made from epoxy resins. Epoxy grout is more waterproof than other types of grout and doesn’t suffer from shrinkage, making it suitable for use with both floor or wall tiles. Generally more expensive than standard grout, epoxy grout is only usually used in areas where you will get the most benefit from its durable properties, like kitchen countertops, splashbacks and bathroom tiling.
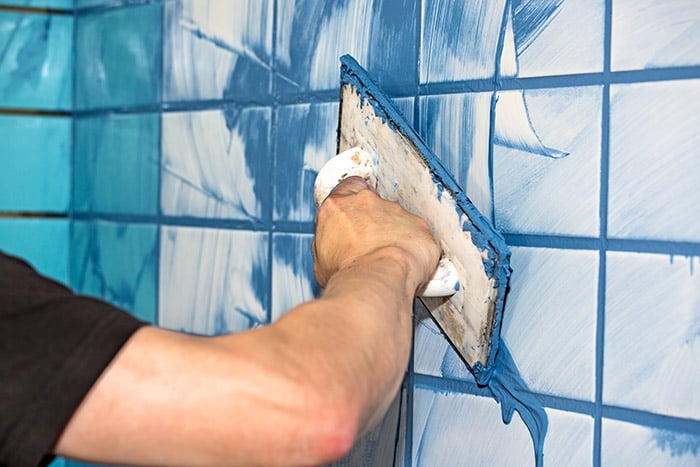 Gone are the days when grout only came in white, there are now a whole host of different colours and finishes available, allowing you to turn a potentially boring DIY job into one that adds contrast or interest to your interior.
Can you use floor grout on walls and vice versa?
Floor grout and wall grout can be used interchangeably, the result you’ll get will depend on the size, material, and shape of the tiles being grouted. Traditionally, wall tiles are smaller, made from softer materials and laid with a smaller joint width than floor tiles. However, it’s now possible to lay tiles of all different shapes, sizes, and materials on either floors or walls, so the type of grout suitable will depend on the tiles you choose. Wall grout doesn’t usually contain sand, so it’s perfect for pushing into smaller joint widths. Floor grout usually contains sand which makes the grout coarser and more difficult to push into very narrow joint widths, so may not achieve as neat a finish as wall grout on tiled areas with narrow grout lines.
How to grout tiles
With the right tools and know-how, grouting tiles is a job that even a DIY novice can master with a little bit of time and patience.
Tools and materials required
- Bucket
- Water
- Grout powder
- Trowel
- Plastic grout spreader or squeegee
- Grout shaper
- Clean sponge or cloth
Grouting newly laid tiles
- Make sure that the tile adhesive has properly dried before beginning.
- Mix your tile grout with water in a bucket according to the packet’s instructions (if you’re using ready-mixed grout you can skip this step). When fully mixed the consistency of the grout should resemble whipped cream.
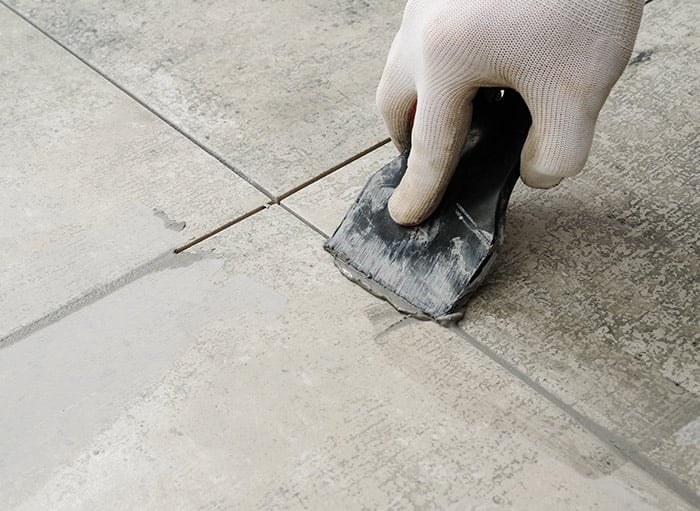 Apply the grout to the gaps between the tiles using a grout spreader or squeegee. Apply a small amount of grout at a time using diagonal strokes. Work quickly to complete the job before the grout starts to set.
- When you’ve finished applying all the tile grout, use a damp sponge or cloth to wipe away any excess grout.
- Wait 10 minutes or so until the grout has started to harden and then go over the joints with a grout shaper using long, continuous movements to achieve a neat and professional finish.
- Once the tile grout has finished drying use a clean sponge to wipe any remaining grout residue from the tiles.
How long does grout take to dry?
Consult the manufacturer’s instructions on the grout’s packaging for an accurate idea of how long the grout you have used should take to dry. Generally, it’s advisable to wait 24 hours before touching or walking on freshly grouted tiles just to be on the safe side.
Regrouting
Regrouting tiles can help to refresh a room or even change its appearance. Try replacing white grout between white tiles with black grout to add contrast and makeover a room.
Removing old grout
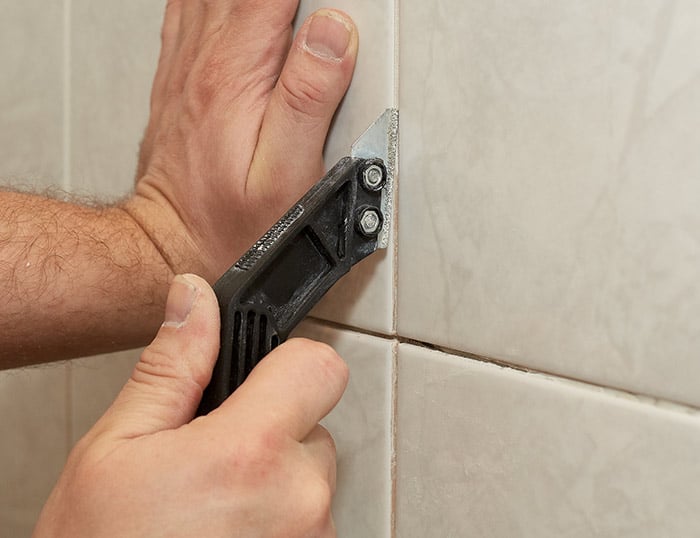 To help remove old grout before regrouting you can buy a handy grout removal tool called a grout rake from most DIY stores. Grout rakes are very affordable and make scraping out old grout much quicker to do.
When removing grout, it’s advisable to ventilate the room well and use a dust sheet, eye goggles and a face mask as the job can be messy and dusty.
If using a manual grout remover rake you’ll need to apply a little pressure as you drag it along the grout lines. Electric grout rakes are also available if you want to make the job a little less laborious! Be careful not to scratch the tiles as you work.
Once you have scraped out the old grout and wiped the tiles down you can apply a new layer of grout in the same way described above for newly laid tiles.
Can you grout over grout?
Yes, it is possible to do so, but not advisable. Grouting over existing grout in areas where it has worn down or flaked away is not likely to create a very neat finish and may not adhere well, meaning you could be back to where you started in a few months when the new grout also flakes away.
How much does grouting cost?
If the grout between your tiles is looking a little worse for wear, calling in the professionals is the best way to make sure the job is completed in a stress-free manner and to a thorough and high standard.
Generally, the price of getting your tiles grouted will fall somewhere between £50 and £300 depending on several factors including:
- If old grout needs to be removed first.
- The type of grout being used.
- Your location.
- The size of the area being grouted.
How to clean grout between tiles
Once your tiles have been professionally grouted and everything is looking pristine, you’ll want to make sure you regularly clean and maintain them to keep them looking this way for as long as possible.
There are several different ways to clean the grout between your tiles, which require varying levels of elbow grease!
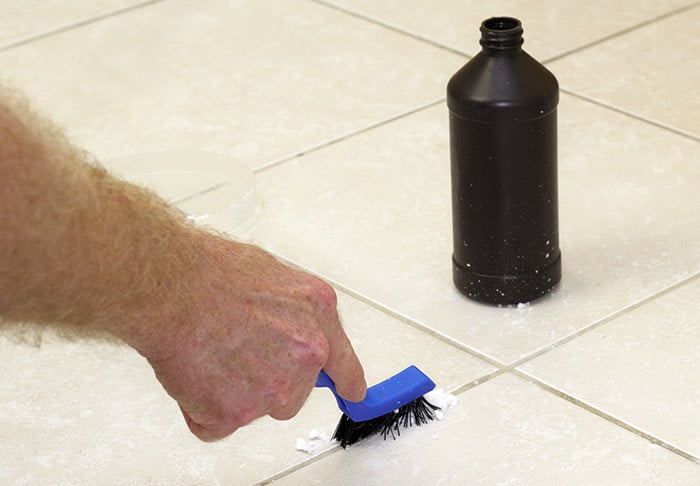 DIY grout cleaner – Make your own affordable and effective grout cleaning solution by mixing together 140g baking soda, 60ml of 3% hydrogen peroxide and 1 teaspoon of washing up liquid. Apply the mixture onto your grout lines and leave for 5-10 minutes before scrubbing off and rinsing with water. Not recommended for use on natural stone surfaces like marble, travertine, granite, limestone and slate, as natural stone requires gentle treatment and baking soda is an abrasive cleaner.
Shop bought grout cleaner – There are numerous specialist grout cleaning products available to buy from your local DIY store including Vitrex Grout Cleaner, Ronseal Grout Cleaner and HG Grease Away Grout Cleaner. These products will generally require a bit of scrubbing to get the best results.
Steam cleaner – If you’re looking for a fast and effective solution that requires minimal scrubbing then hiring or borrowing a steam cleaner might be the right option for you. Most of the grime should come away when you blast the grout with steam and any dirt remaining can be gently scrubbed. Steam cleaning is also an environmentally friendly cleaning option as no chemicals are used, just steam.
Top tips for cleaning grout
- Never use steel wool or brushes with metal bristles to clean grout as they are too abrasive.
- Don’t use bleach on coloured grout or it may lose its colour.
- Always check the label on cleaning products to ensure they are suitable for use with your tiles, natural stone in particular can be damaged or stained by some harsher solutions (including vinegar).
- Always mop up spills and excess liquid to avoid it being absorbed by the grout and causing stains.
- Call in the professionals to ensure a thorough clean and sparkling finish.
Find a trusted tradesperson local to you
Want to find out how much it would cost to refresh or makeover the grout around your tiles? Post your job on Rated People to receive quotes from trusted tiler local to you.


